Section outline

    • Learn how to install, configure, and deploy the Urmi Universal Encoder/Decoder on Ubuntu Linux. This course provides step-by-step instructions for installing the application, configuring dependencies, setting up streaming services, and verifying encoder operation for professional IPTV, OTT, cable TV, and broadcast workflows.

      Full Course Description

      The Urmi Universal Encoder/Decoder is a professional broadcast software solution developed by Urmic.org for encoding, transcoding, and streaming audio/video over IP networks. It supports deployment on modern Ubuntu systems and integrates with industry-standard streaming protocols.

      This course is intended for broadcast engineers, IPTV operators, system administrators, and technical partners who need to install and configure the encoder from source.

      During this course you will learn how to:

      • Prepare Ubuntu for installation
      • Install required software packages and dependencies
      • Clone the source code from the Git repository
      • Build and install the application
      • Configure encoder settings
      • Configure network interfaces and streaming outputs
      • Verify encoder operation
      • Troubleshoot common installation issues
      • Update and maintain the encoder

      By the end of this course, participants will have a fully operational Urmi Universal Encoder/Decoder installation ready for production use.


      Learning Objectives

      After completing this course, learners will be able to:

      • Install Ubuntu prerequisites
      • Download the encoder source code
      • Compile and install the encoder
      • Configure network streaming
      • Configure encoding parameters
      • Test encoder functionality
      • Perform software updates
      • Troubleshoot installation problems

      Target Audience

      • Broadcast Engineers
      • IPTV Operators
      • Cable TV Operators
      • OTT Platform Administrators
      • Linux System Administrators
      • DevOps Engineers
      • Technical Support Engineers
      • Urmic Hardware Partners

      Prerequisites

      • Basic Linux knowledge
      • Ubuntu 24.04 LTS
      • Internet connection
      • Administrator (sudo) access
      • Basic networking knowledge

      Software Requirements

      • Ubuntu 24.04 LTS
      • Git
      • GCC / Build Tools
      • FFmpeg (if required)
      • Internet connection

      Hardware Requirements

      • 64-bit CPU
      • Minimum 4 GB RAM (8 GB recommended)
      • 20 GB free disk space
      • Gigabit Ethernet connection

      Installation Source


      License

      This software is distributed under the Urmi Licence. Refer to the project documentation for licensing terms and usage conditions.

      https://github.com/shreebhattji/Urmi

    • Find Ubuntu machine ip from router , Use Power shell or terminal 

      suppose machine ip is 192.168.1.111 then type following 

      ssh dev@192.168.1.111

      this will ask to accept accept finger print Type 

      yes

      Then machine will ask you for password , Password will not be visible  , Type password "Mahadev@123"

      Mahadev@123
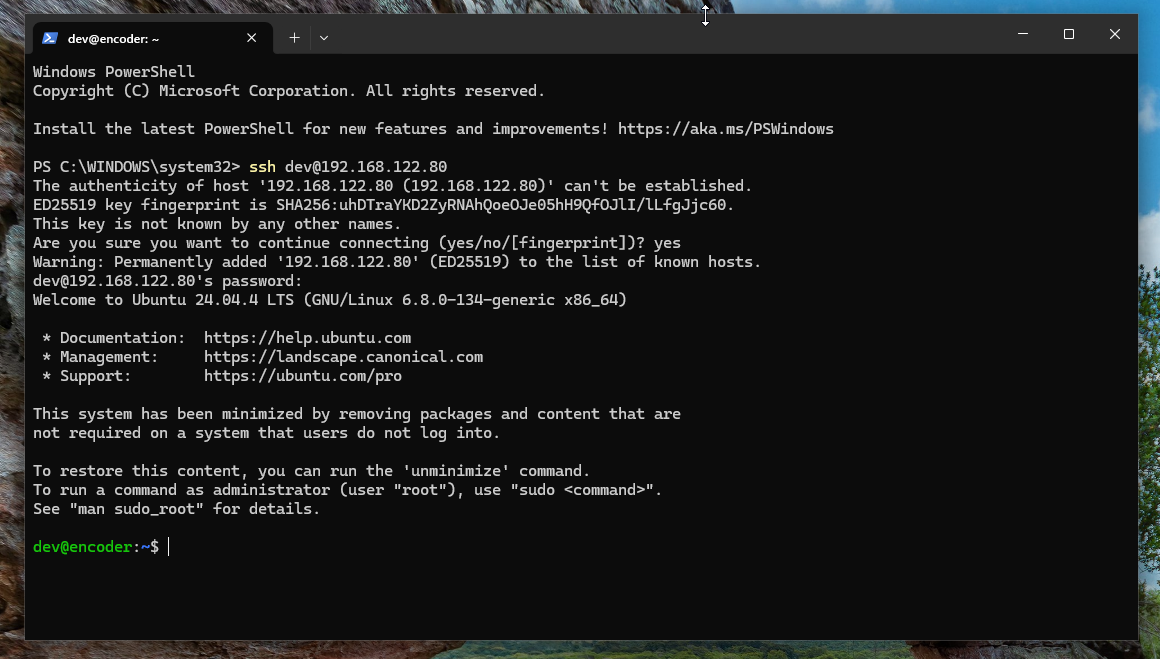
      ssh  

      Not , need to have root user , for login type "sudo -i" ( keep everything in small letters ) and enter Password "Mahadev@123"

      sudo -i
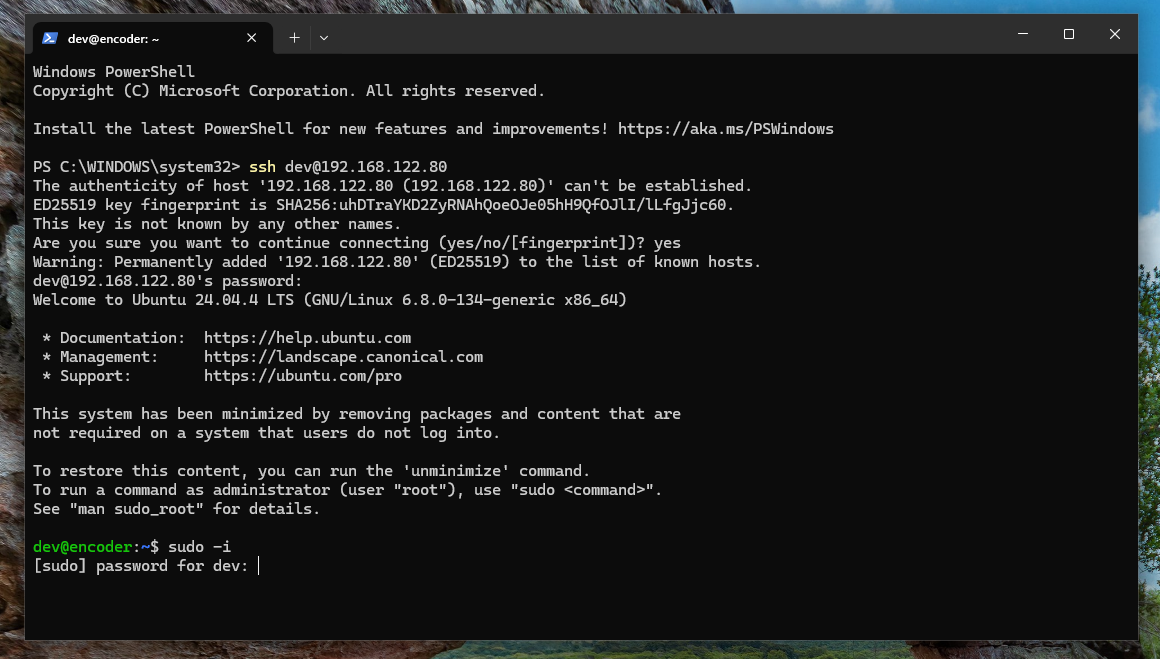
      sudo

      After entering password terminal will show root as user 

      root@encoder #
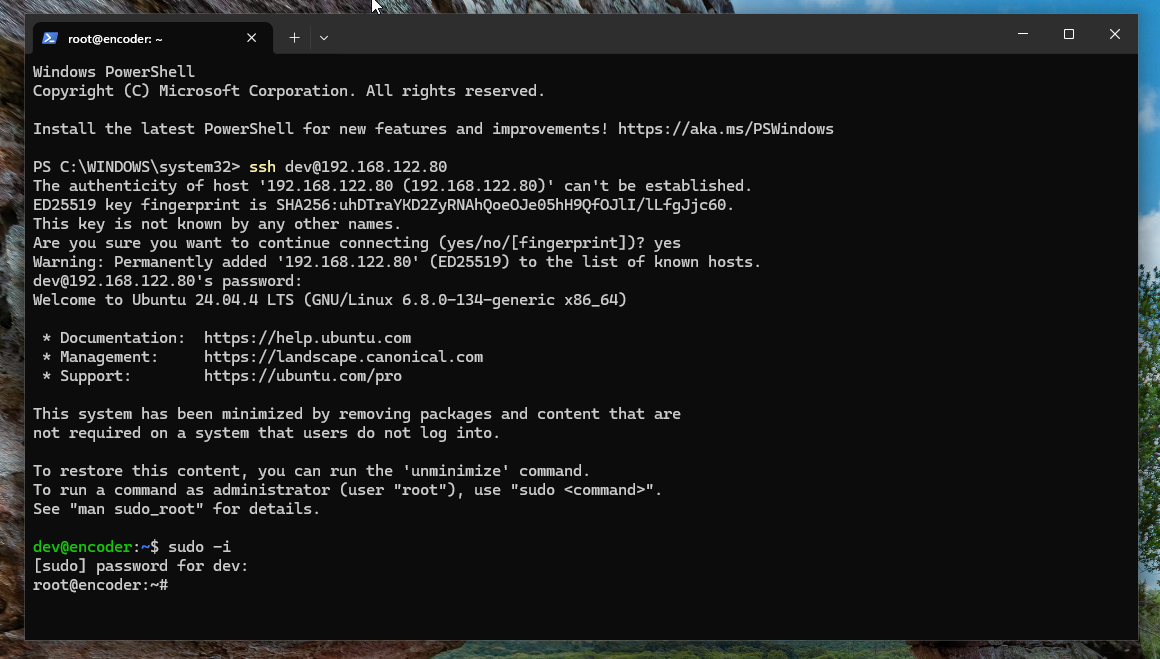
      root user

      First copy following code and pest in terminal , If you are in windows select power shell and right click on mouse , For linux / mac user pest using  ( ctrl + shift  + v ) or ( Home + v )

      cd /tmp;
      apt install git -y;
      cd /tmp;
      git clone --depth 1 https://git.urmic.org/hw_partner/urmic_digital_encoder_decoder.git;
      cd urmic_digital_encoder_decoder;
      chmod +x install.sh;
      ./install.sh

      After pesting this code hit enter , wit for few minutes , system will auto reboot  ,

      This will install Urmi Universal Encoder Decoder ( INTELQSV ) in machine and you can login using following credential  in https://{Your_ip}:8080

      Here you might see ssl error , but this is normal  just selecct "advance" and then click on " Proceed to  (unsafe)"
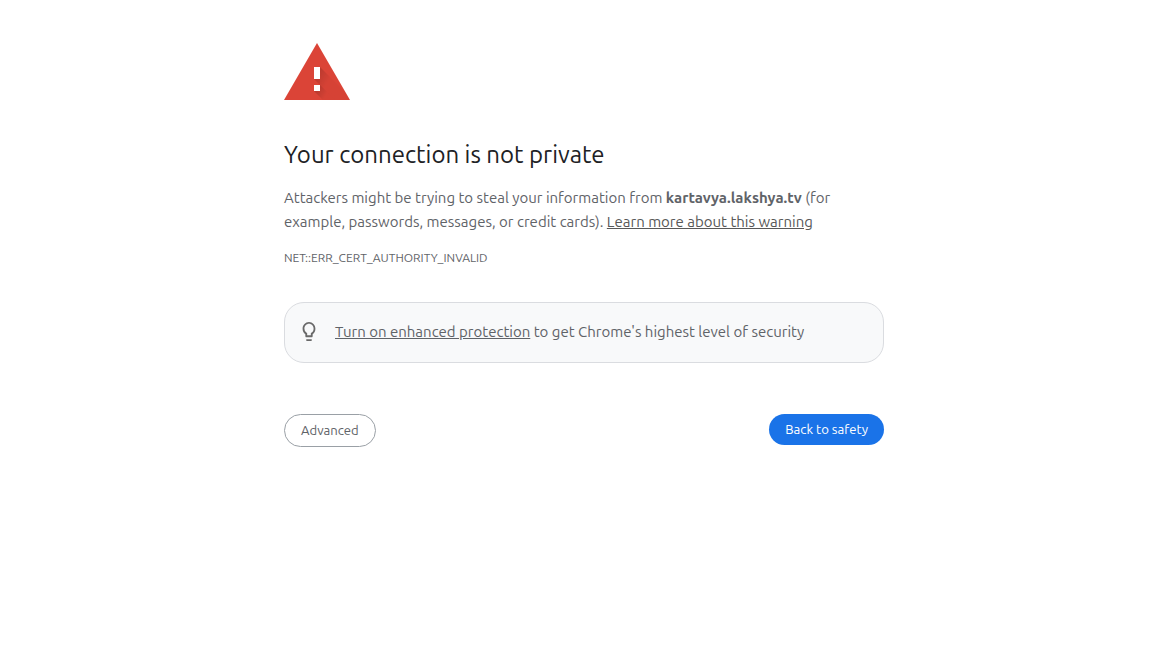
      advance

      Just click on advance and then proceed
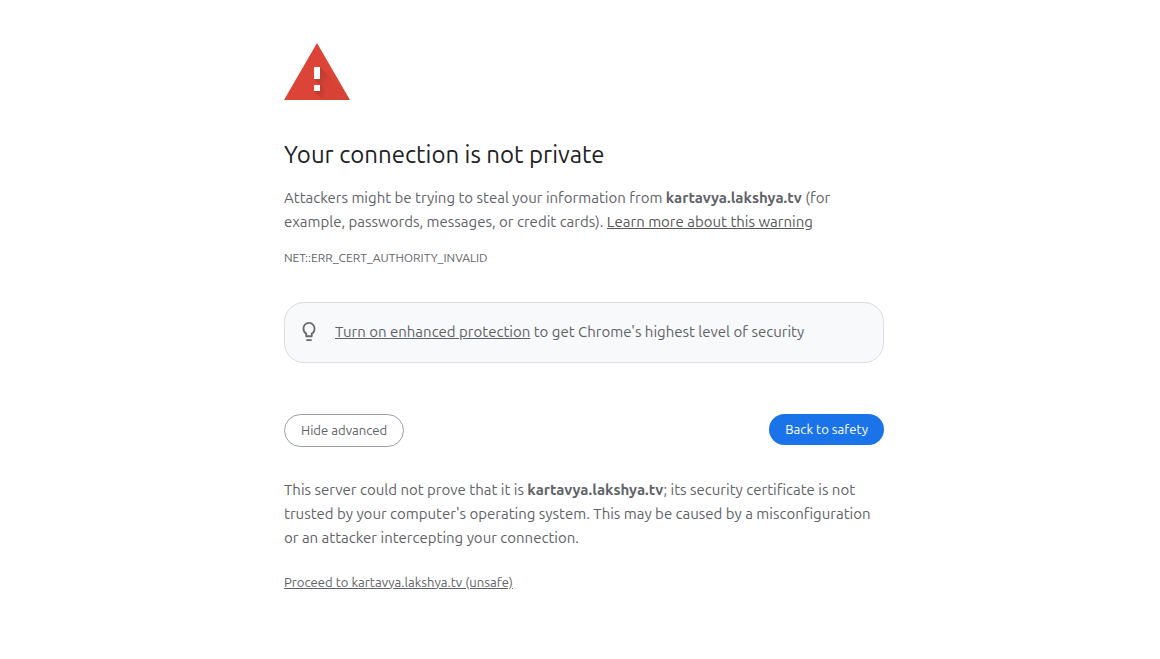
      procceed

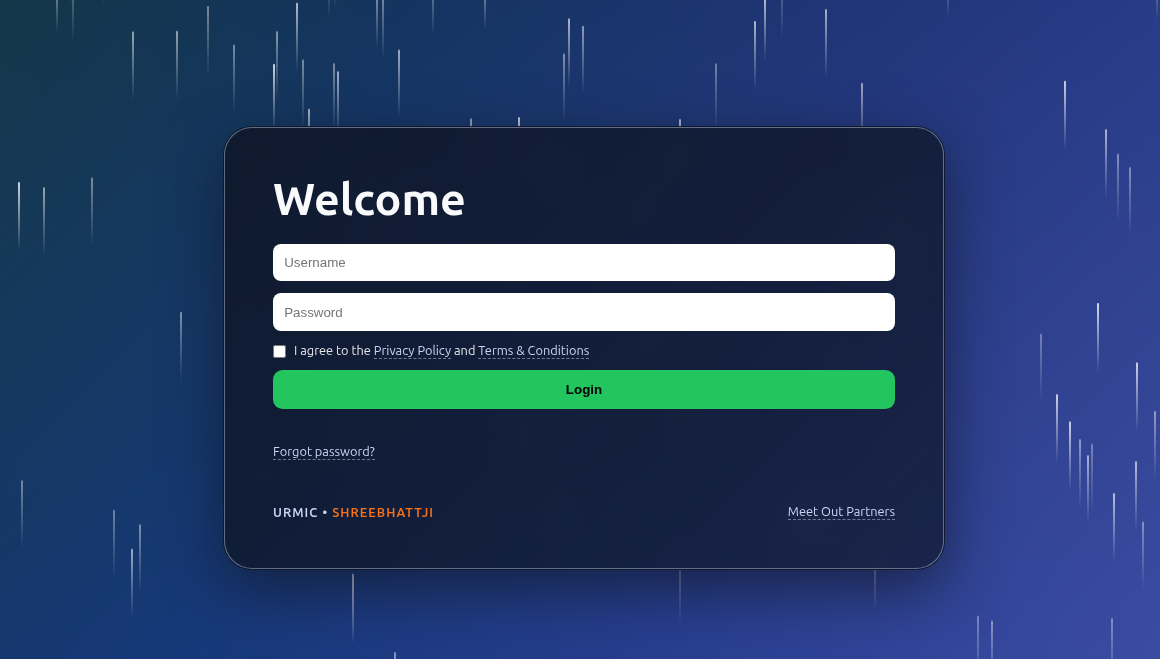
      Now you will see login screen , 

      login

      Default username , password and port
      
      username :- shreebhattji
      password :- foreverstreamingpartner
      port :- 8080
      
      Loin Ip will be 
      https://IP:8080

      If password is right then you will land at monitor screen like this 
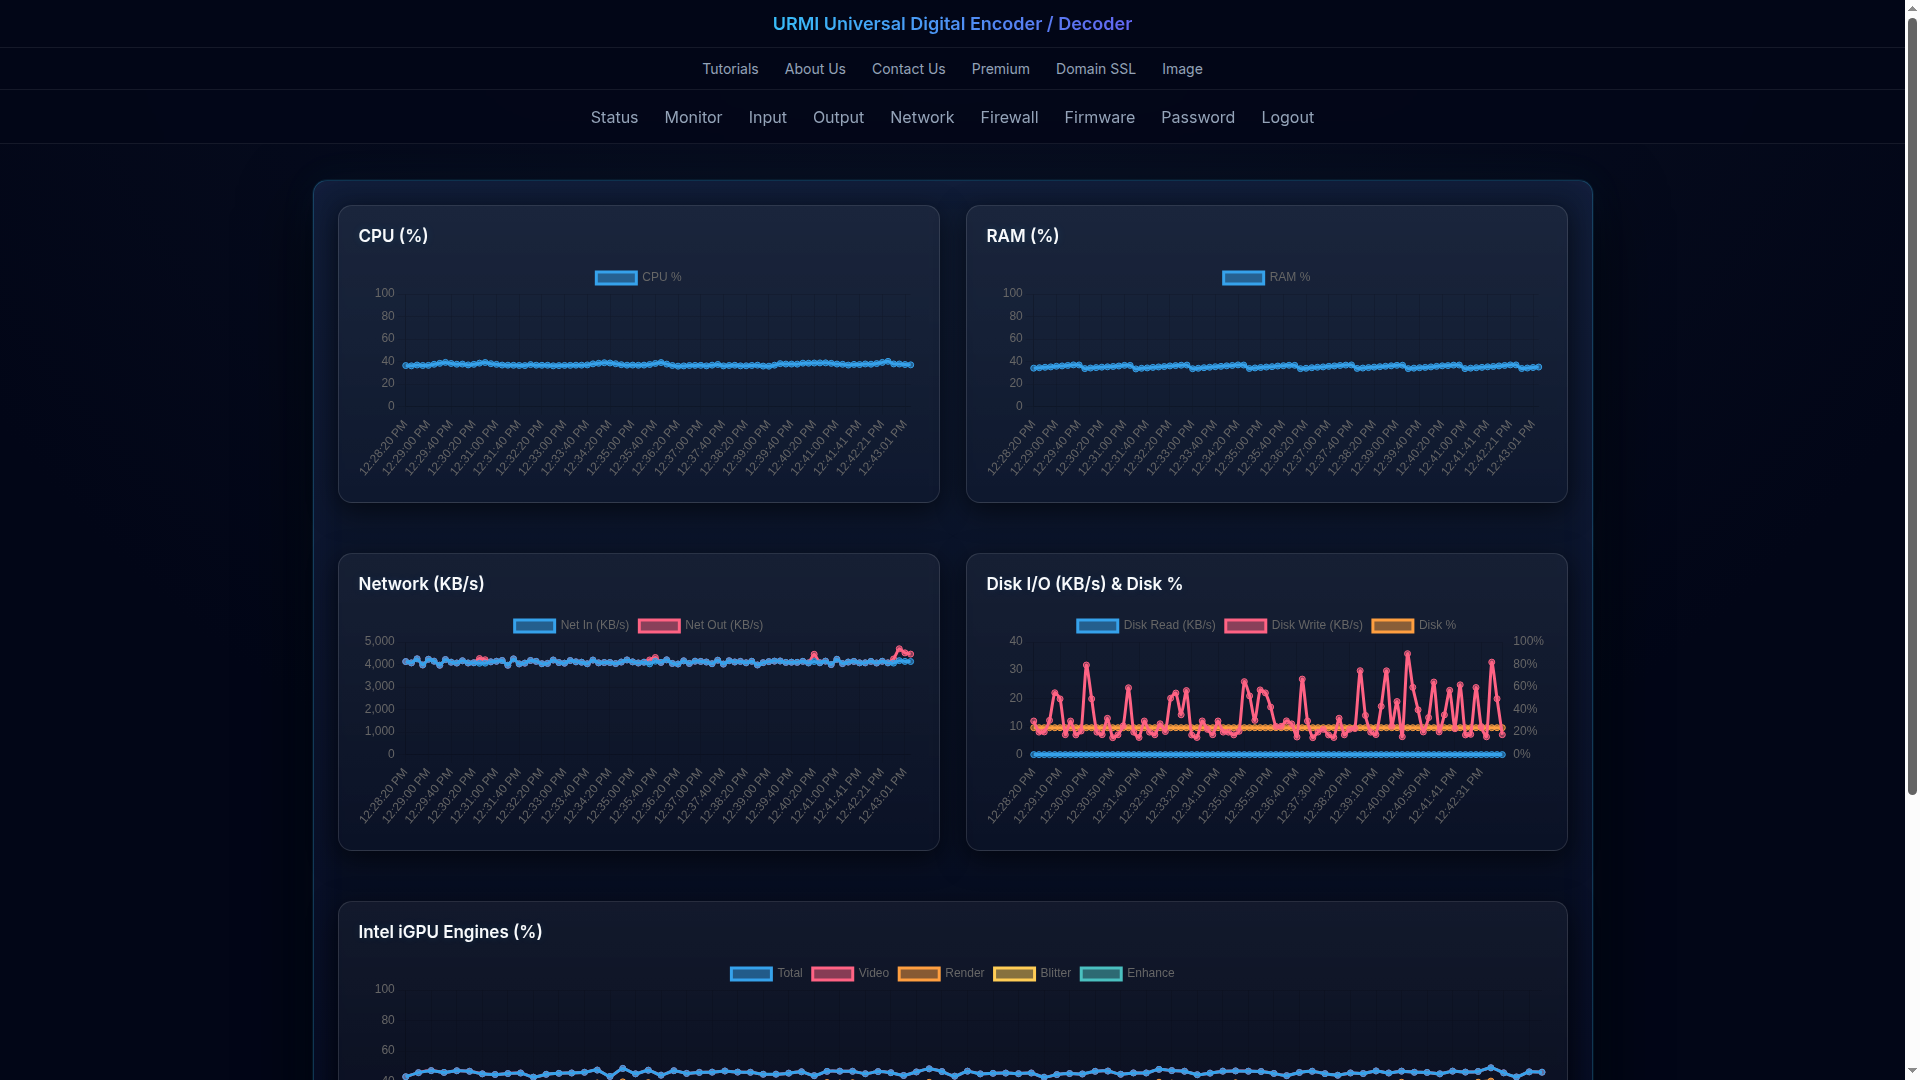
      Encoder

      Congratulations , You now hold  Universal Encoder / Decoder and power to stream any and all locations